
Although this project was not in A Hot Glue Gun Mess, the book did inspire us to try to make other, equally fantastic, projects using our newly embellished glue guns. Once we put the crystals on, we couldn’t put those babies away! I had seen similar projects on Pinterest and thought, how hard could it be? Turns out that they were super easy to make and super cheap as well.
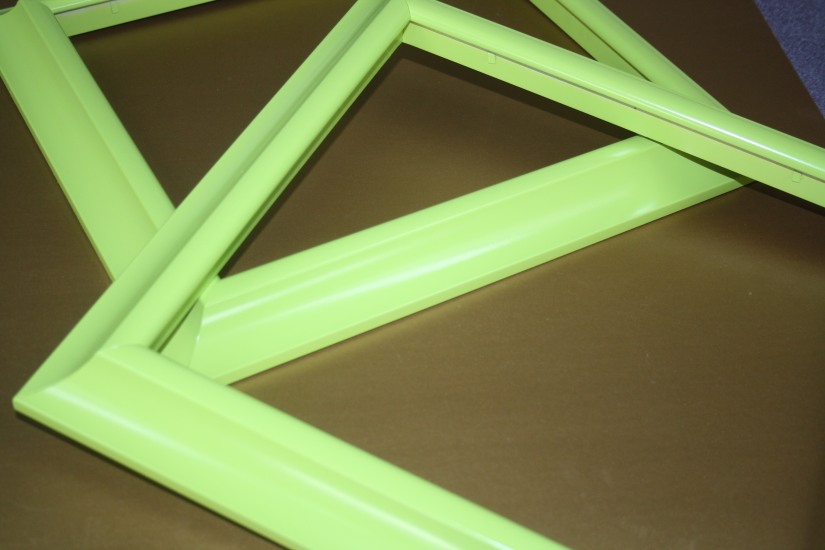
Step 1: Purchase some cheap frames, take the glass and matting out. Prime and paint your favourite colour. We chose bright green so it would stand out against our dark walls
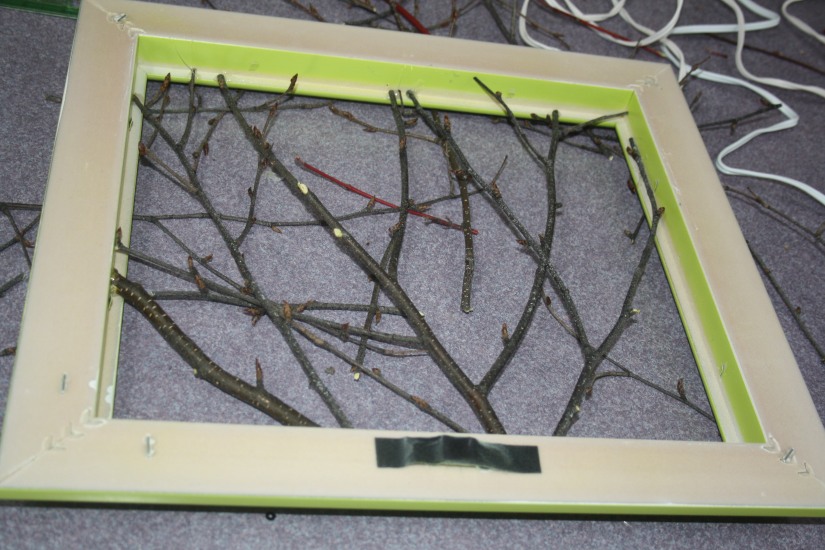
Step 2: Holding your branches over the frame, cut your twigs down to size so they will fit within it. I harvested the twigs from around my property and the road allowance since they usually come every year and cut the branches back anyway. I cut 2 different varieties (Red Dogwood and Birch) for the bark colours and we each chose a different type for our pictures.
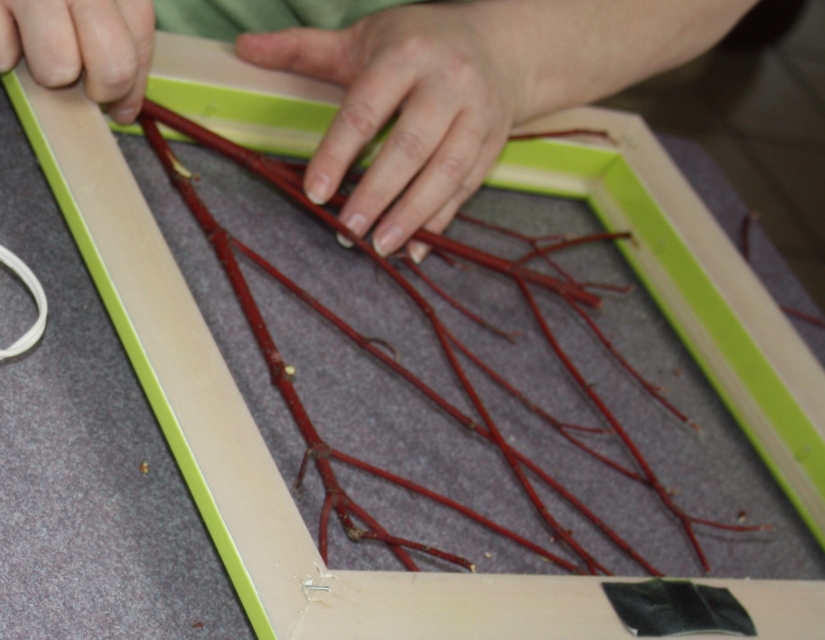
Step 3: Place your twigs and use your glue gun to attach your twig to the frame edges.
As a tip, you can see that I realized that I had my frame upside down after it was completed – check to see what end is right side up before you glue! The other Dolly didn’t check her frame either, but she lucked out.
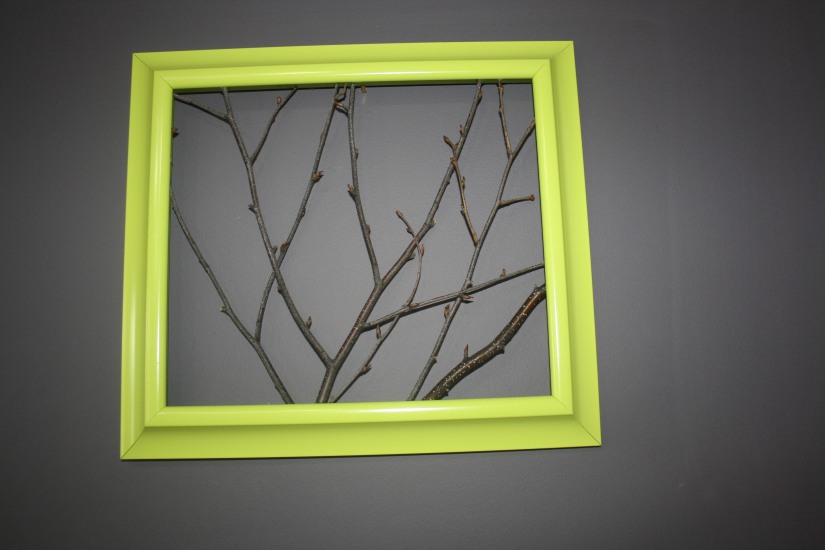

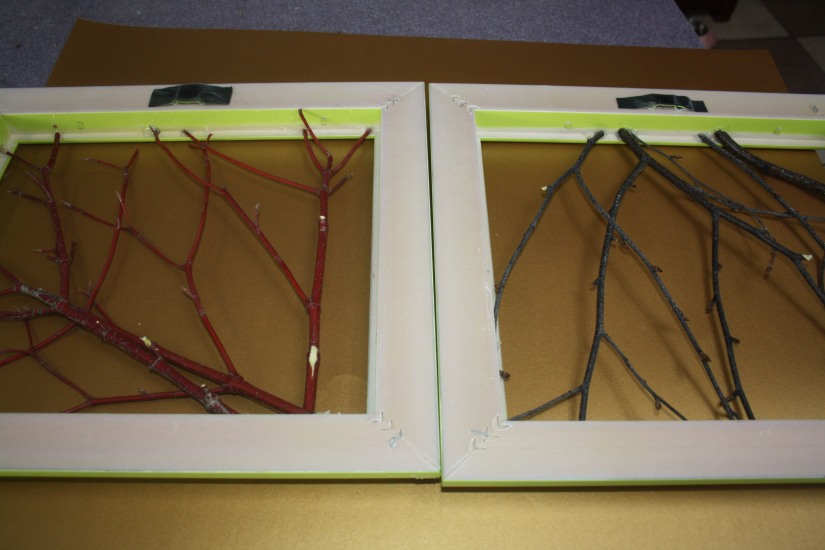
Step 4: Stand back and admire your work.
Cost per frame: $8.50 CAD each
- Frames: $3 each at the Dollar Store (They were originally a bright gold with a super ugly picture inside)
- Aerosol Paint: $7 for primer, $7 for green
- Twigs $0. Thanks, Mother Nature. You rock!
