
If the winter is getting you down and you can’t wait for spring to arrive, help alleviate some of your spring fever by starting some of these easy make ahead garden crafts.
Watering Can that Pours Crystals
If you have an old metal watering can kicking around with a rain spout, then this craft is for you! Add strings of crystals to make it look like it’s pouring a magical, sparkly stream of water. Visit Crafts by Amanda for more pictures. Her instructional video is linked below. Supplies needed include: watering can with a rain spout, crystals of any kind, floral wire, needle nose pliers and any type of a stopper bead.

Hypertufa Hands
Although some people may think this is a bit creepy, I think they add an interesting feature to your pots without being too colourful (which can take away from your planting). Hypertufa blends in nicely to the environment and can even start to grow moss or lichen on it once it ages, making it appear like it’s been there forever. There are a few blogs out there which show tutorials on how to make these, but I found the one by bluefoxfarm.com to be the most useful for my needs. Make sure you read the tips and comments below the post from people who have tried it. Supplies needed: surgical gloves (largest size you can find) and your favourite hypertufa mix.
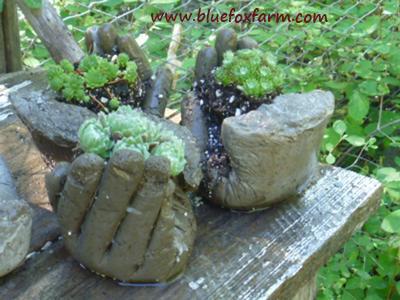
Hypertufa is a blend of portland cement powder, spaghnum peat moss and builder’s sand, vermiculite or perlite mixed with water. Usually a 1:1:1 blend of dry ingredients, but easily customisable if you want a different consistency. Depending on the project, you want to make it around the consistency of cottage cheese. Usually you end up adding a little less water than your total of dry product. Make sure you add the water slowly and mix until your desired consistency is achieved.
Once you pour your hypertufa into its mold, let it cure for at least a few days in a shady spot. Once you remove the mold, you can let it air cure for a few weeks to harden or immerse it in a water bath.
Garden Markers
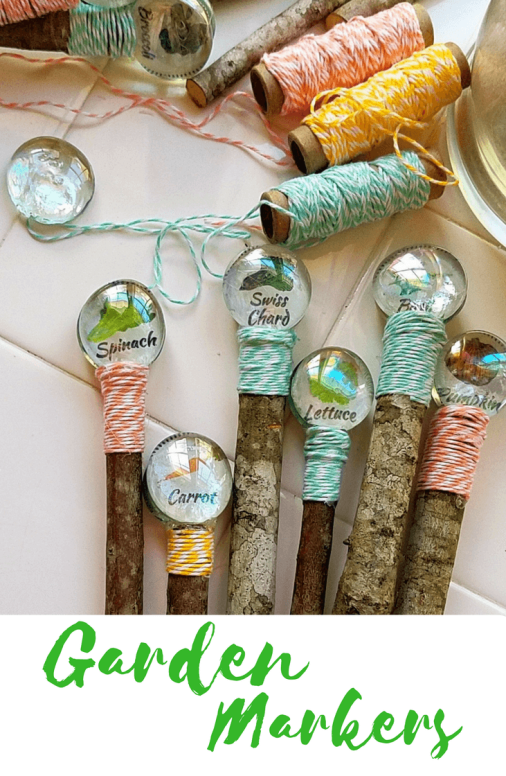
This idea was posted over on homesteadwishing.com and is very similar in concept to our fairy garden windows and magnet, this project uses the glass stones that we found at our local dollar store, twine, E6000 glue, glue gun, glue sticks, mod podge and pictures that you find from a magazine or print off on your computer using clip art. If you have an inkjet printer, you may find that your images bleed when they come in contact with the mod podge.
Wooden Spoon Garden Markers

Another garden marker project. Get the kids involved and have them paint them for you. For the full tutorial, visit jugglingactmama.com.
Seed Bombs
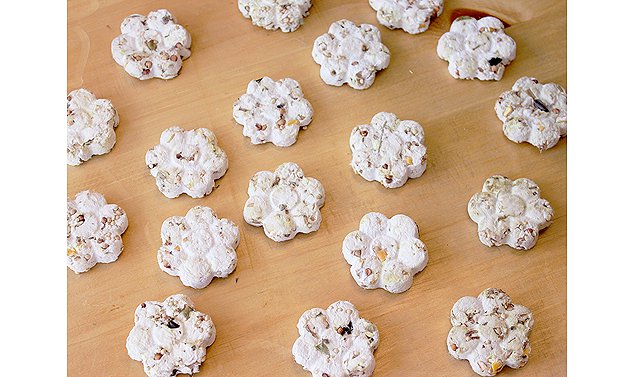
This next one is a two in one. If you’ve ever made handmade paper, you will know how totally addicting it is. Visit www.onegoodthingbyjillee.com for a fantastic tutorial on making a paper slurry and then adding seeds to it to make your own flower bombs. Scroll to the bottom of her page for the flower bombs and then link to her paper making tutorial at the top of the page for the slurry recipe. Join the Guerilla Gardening movement and pretty up unexpected and barren areas with a burst of colour. PLEASE make sure you are not using invasive flowers and only use ones native to your own area.
Beaded Wind Chime

Visit www.gardentherapy.ca to view this tutuorial. Such an easy way to add some colour and sparkle to your garden early in the spring when there isn’t much else yet. Supplied needed include: assorted beads and charms, bells (or anything that will make a sound when the wind blows) driftwood, nylon beading thread, beading needle, electric drill and small drill bit, twine.
Alice in Wonderland Topsy Turvy Flower Planter and Bird Bath
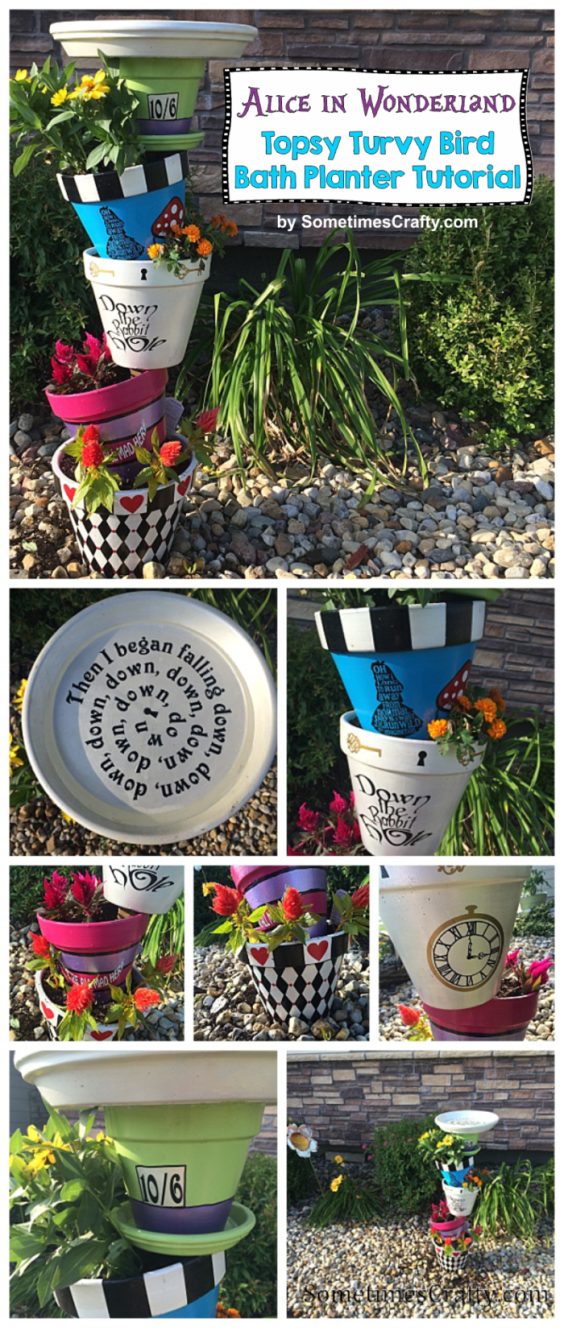
This one is perhaps one of my favourite because I happen to love all things to do with ‘Alice in Wonderland.’ This great tutorial comes from Laura at Sometimes Crafty. Supplies needed include: 6″ Clay Saucer, 12″ Clay Saucer, 10″ Clay Pot, 8″ Clay Pots (3), 6″ Clay Pot, 3/4″ x 36″ Rebar, Hammer, Spray Primer (I used a couple of whatever I had on hand), Paint (Rust-Oleum American Accents Ultra Cover 2x spray paint and assorted acrylic paints), Paint Brushes/Sponges, Vinyl Decals (optional), E6000 Adhesive, Mod Podge, Clear Sealant Spray, 7/8″ x 6″ Hex Bolt (found at hardware store) and Flowers and soil for planting.
Copper Link Rain Chain
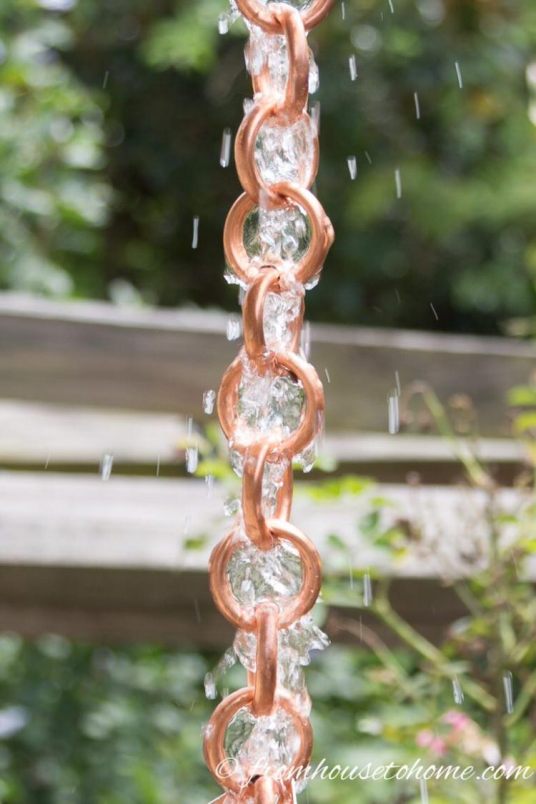
Wanda from House to Home has an easy to follow tutorial that will have you replacing all your downspouts with these beautiful copper rain chains.
Allium
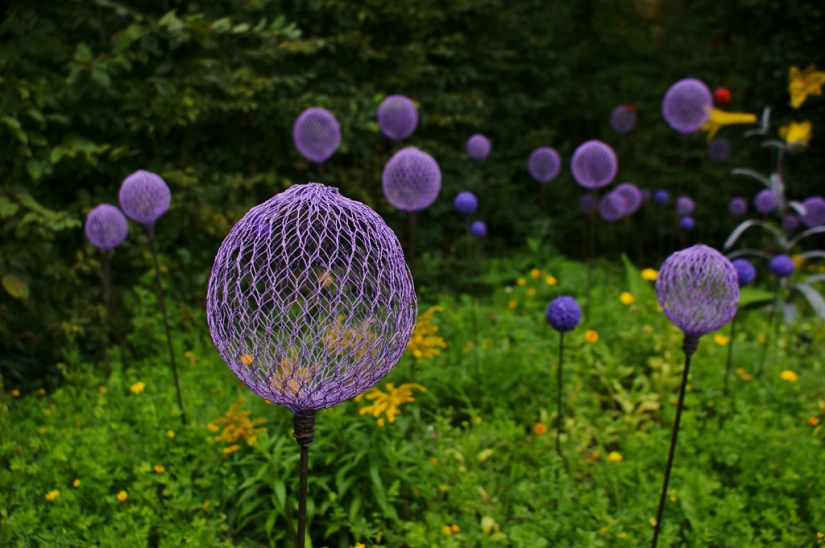
Create your own colour with these whimsical globes by Paradis Express. The site is in french, but there are some amazing ideas for your landscape here. For this project, form chicken wire into small globe shapes, spray paint purple and wire onto a stake.
Concrete Garden Globes
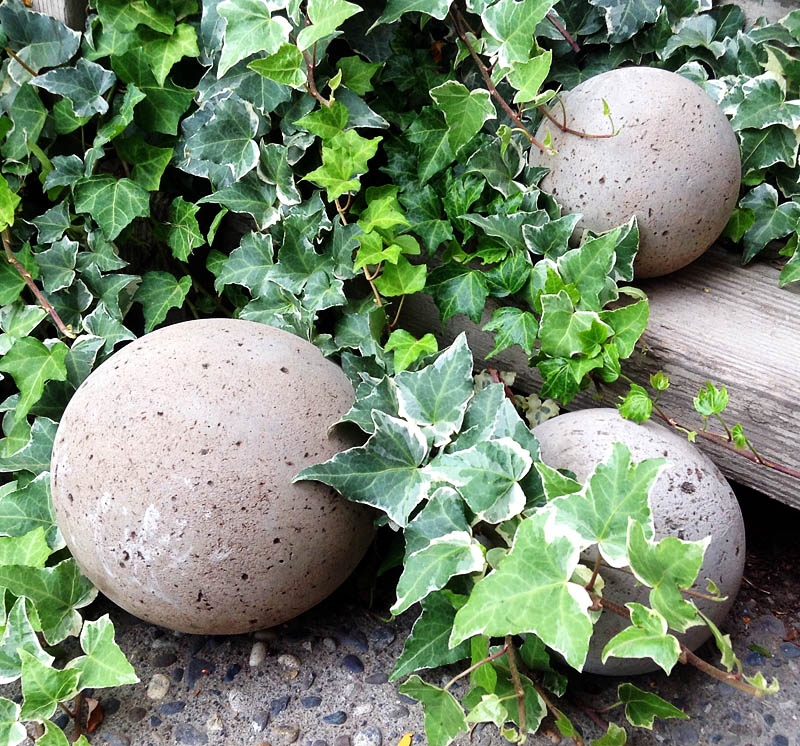
Kathy and Steve over at The Garden Glove have an easy to follow tutorial on how to create your own concrete garden globe. Leave the globe as is, encourage moss to grow on it, or bling it up with coloured glass stones or marbles.
So until the snow melts and you can get your hands in the dirt, here are a few projects to help get the jump on your growing season. Because we all know that once things get going, craft time is at a minimum and maintaining what you have becomes the top priority.
~R. Dolly

1 thought on “Top 10 Garden Crafts to Get You Through Until Spring”